
ℹ️Beta Platform User Guide
1. Connecting Wallets
To access the AlphaDex Platform users must first connect their Ethereum based wallet (via either Metamask or Wallet Connect) and Unisat Wallet (this will be the wallet which receives purchased BRC-20 tokens). PLEASE NOTE: THE UNISAT WALLET MUST BE A TAPROOT ADDRESS.

Connect Wallets to gain access to the platform.
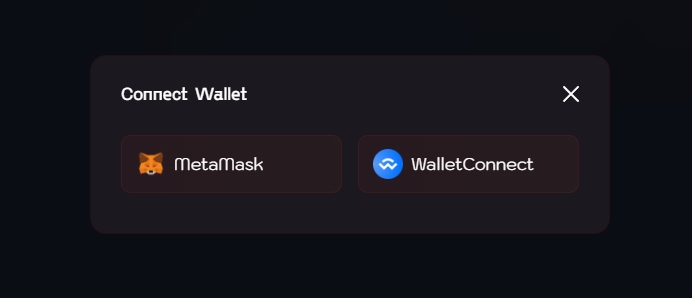
For ETH based Wallets users have the option of either Metamask or WalletConnect.
This will reveal the UI and give users access to the platform.

Once connected the UI is revealed and recent transactions are shown.
2. Specifying Token to purchase
Next users must specify the BRC-20 token they would like to purchase either by using the list or by providing the token name / ticker.
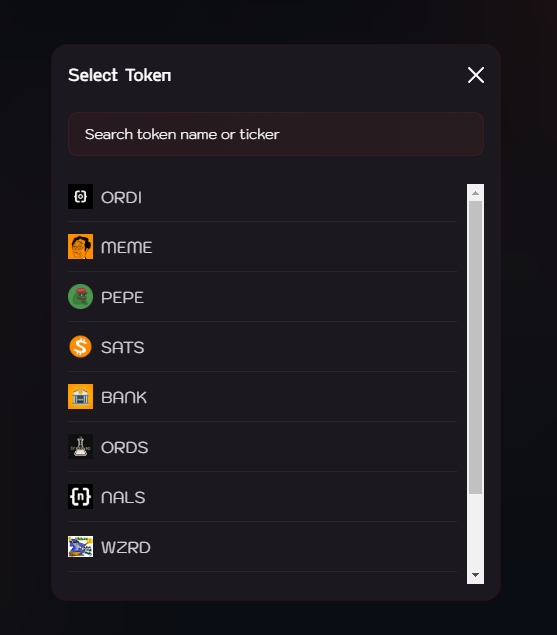
Search for and select a token to purchase.
The AlphaDex platform will then provide users with the cheapest orders currently available for the selected token.
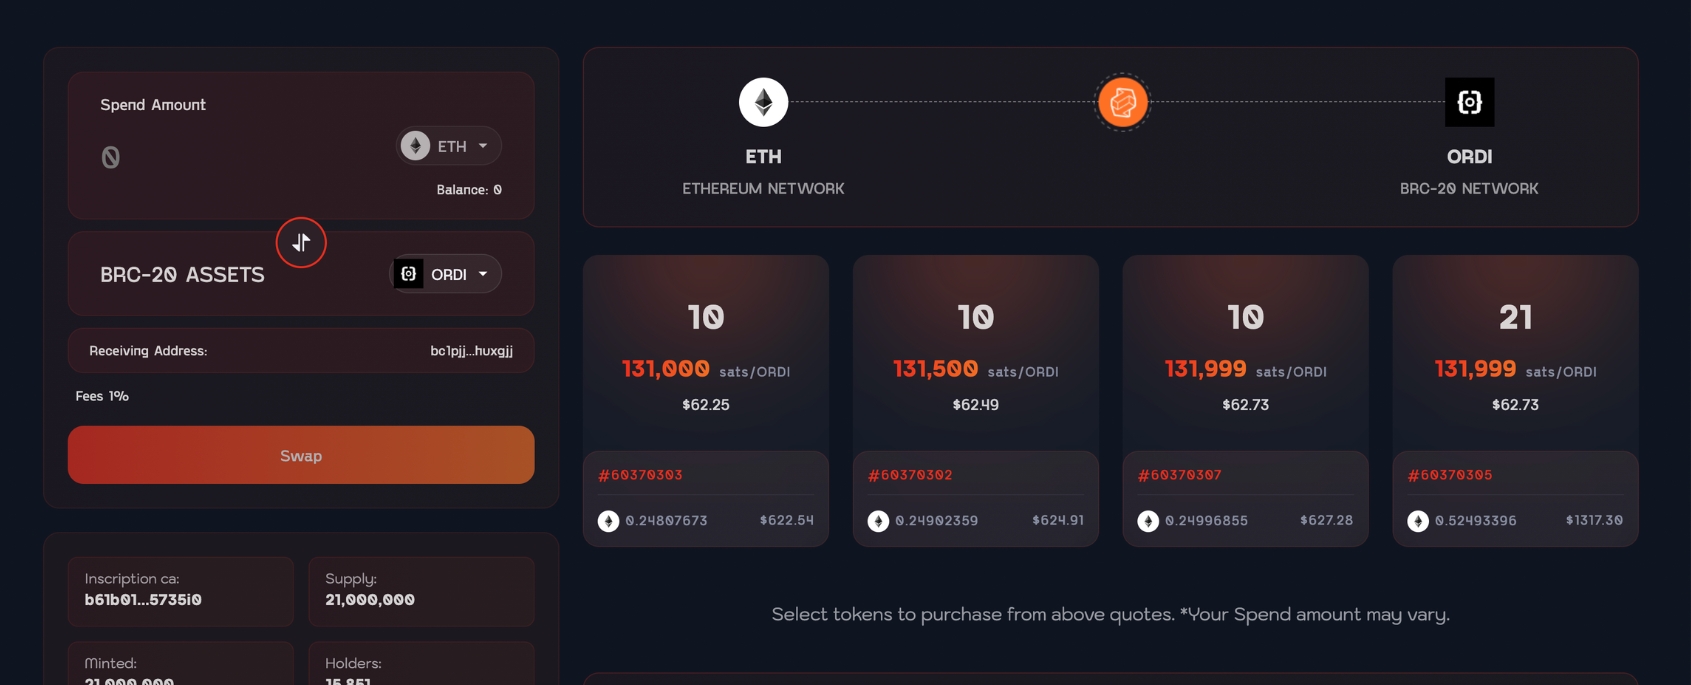
Cheapest orders are shown initially.
3. Specifying ETH to Spend
Next users must specify the amount of ETH they would like to spend on the token.
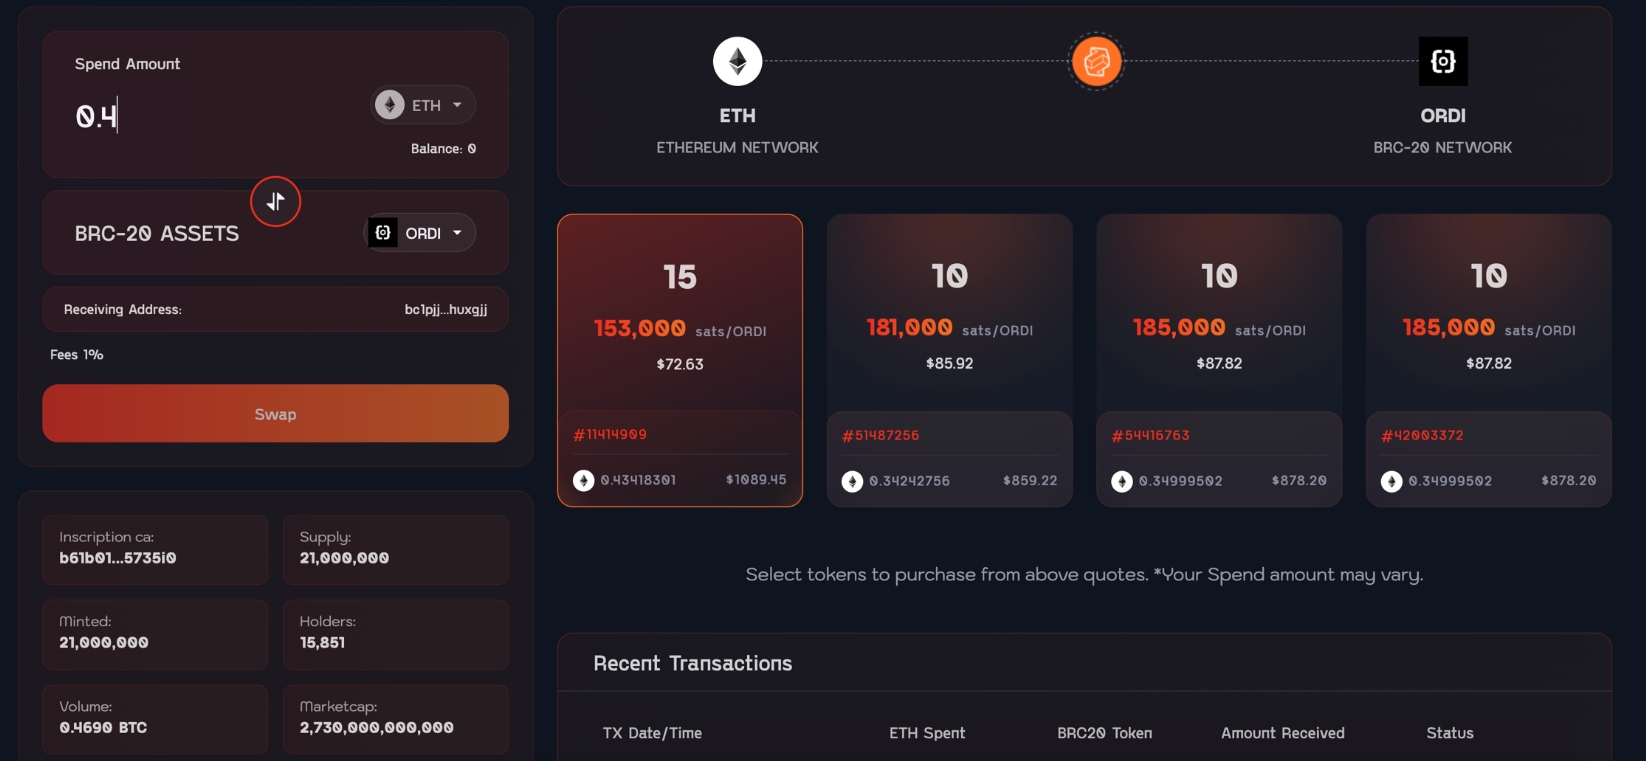
Specify the desired amount of ETH to spend.
4. Selecting an Order
The platform will then present the cheapest orders matching the users purchase size. Users must select the order which best suits their requirements.
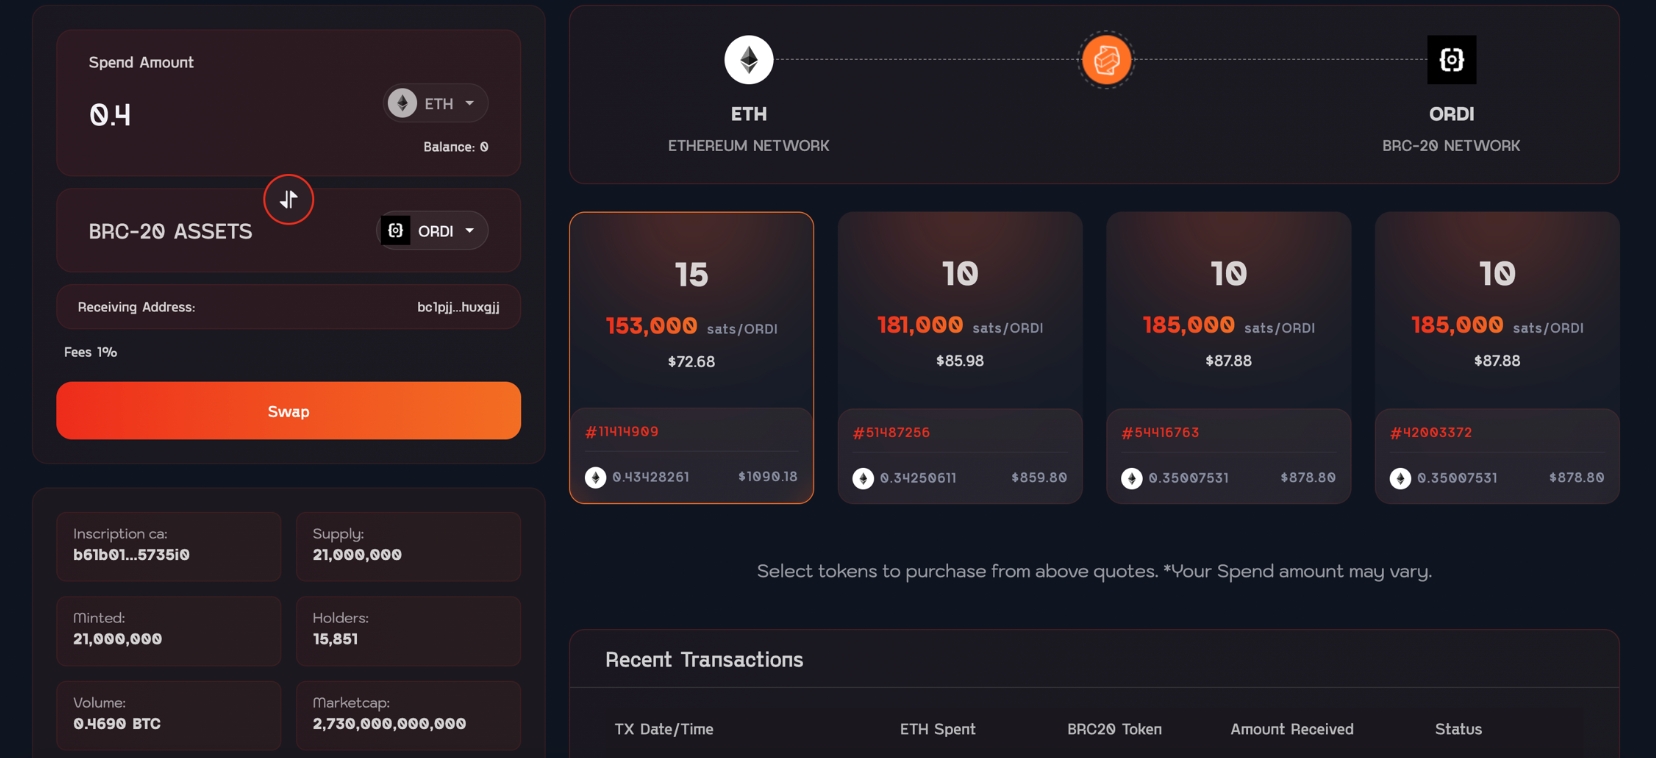
Select your desired order.
5. Confirming your Order
Users will then be presented a final order breakdown as well as confirmation request. Users must review the price, cost and fees and confirm to submit their order.

Review your order and confirm.
6. Sign Tx in Unisat and ETH wallets.
Users must then sign the TX through both their Unisat and ETH wallets.
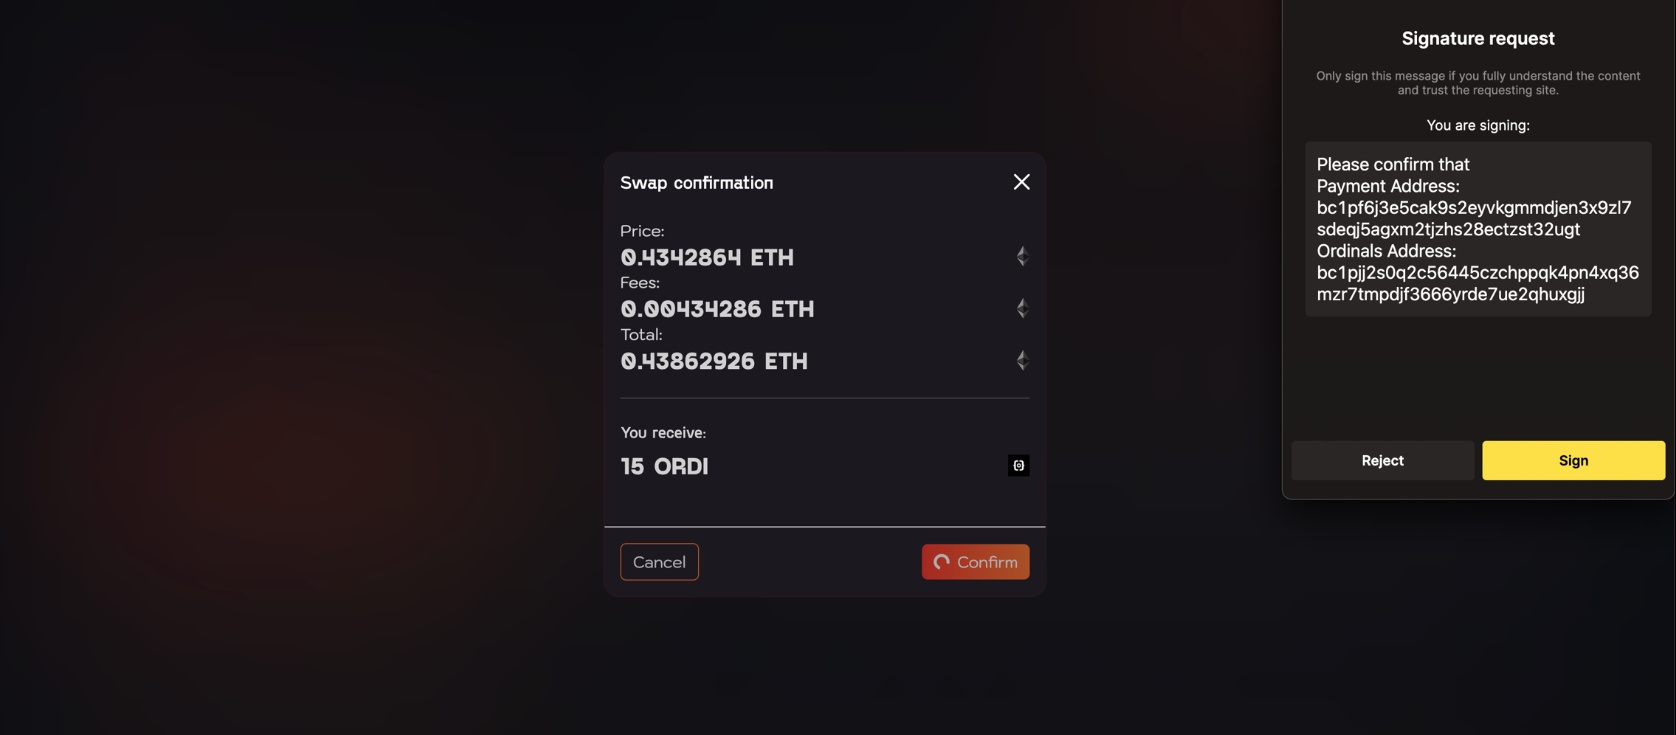
Sign in Unisat Wallet.
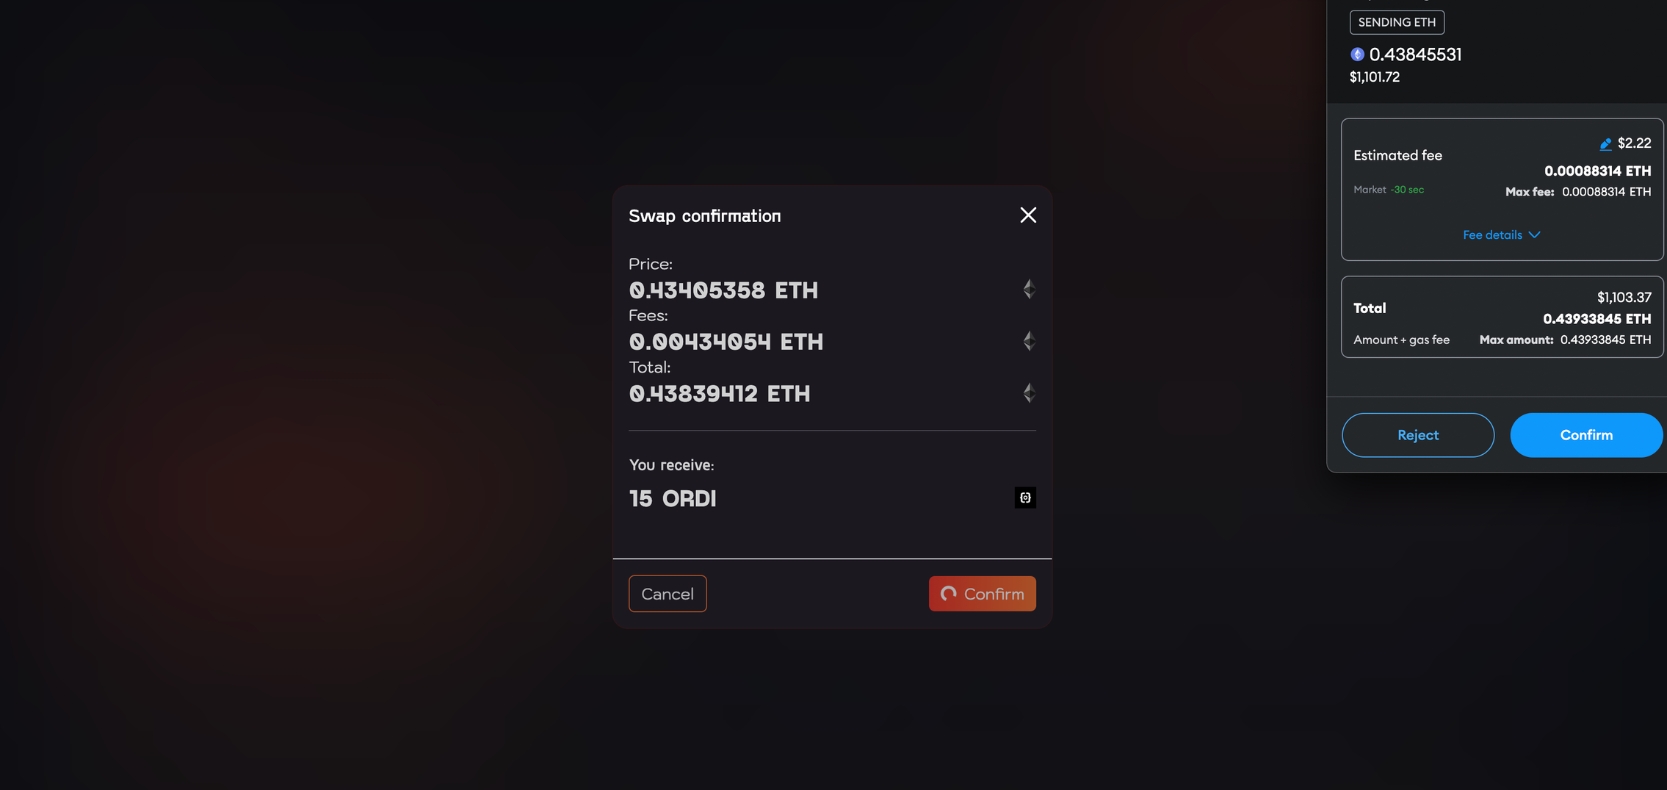
Sign in ETH wallet.
7. Order Processing
The Cross-Chain Swap will then process and a progress UI will display the current status of the transaction. Users may exit this page if they wish and view tx status through the main page.

Tx Progress UI display the current status of your tx.
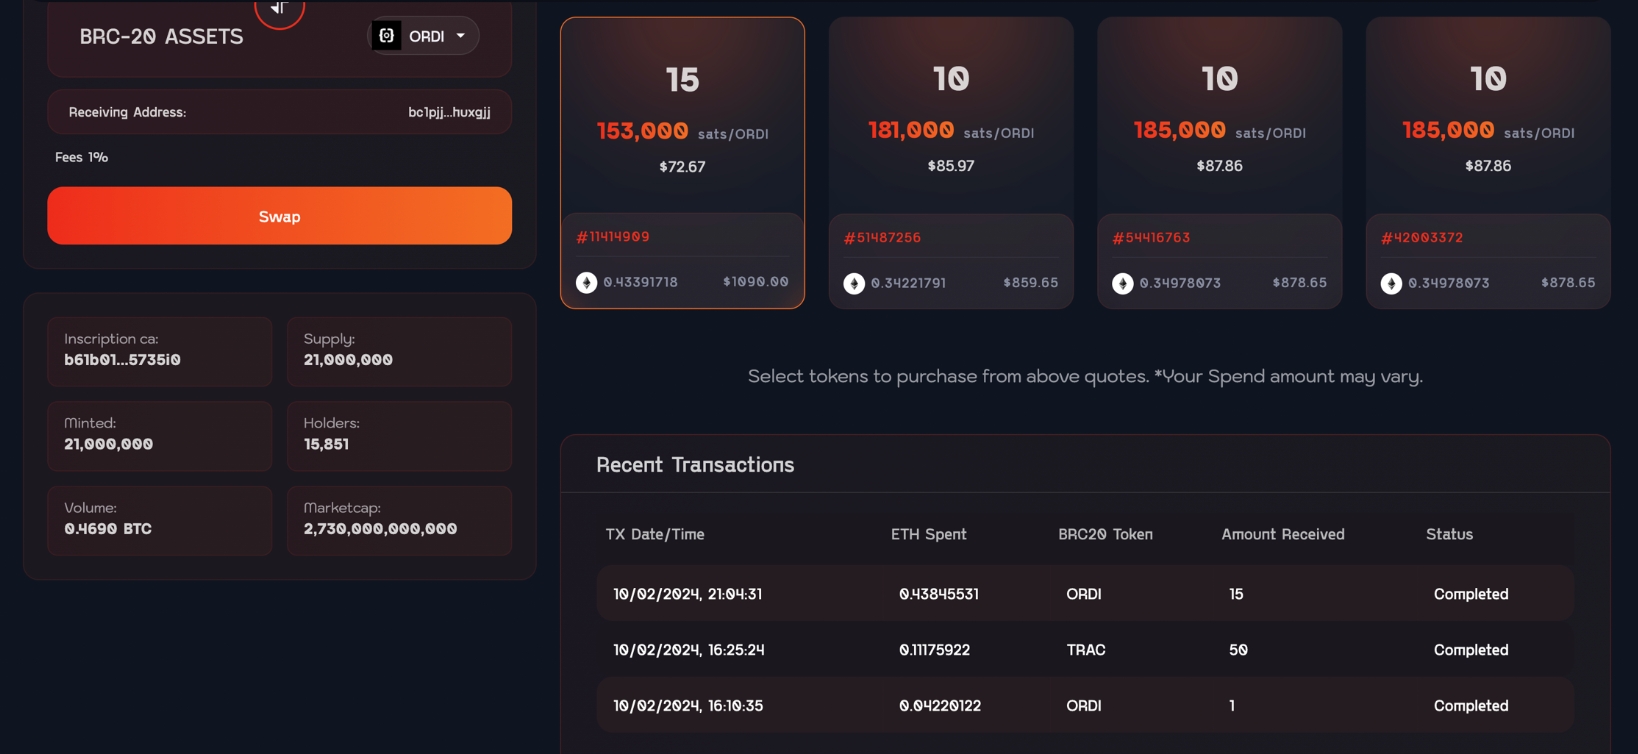
8. Final Confirmation
Once complete, users will be able to see the 'completed' status against their transaction on the Recent transaction menu on the user dashboard. PLEASE NOTE: Although the tx is completed and technically the assets are secured, the BTC network requires further confirmations before the assets can be accessed and interacted with.
Last updated